

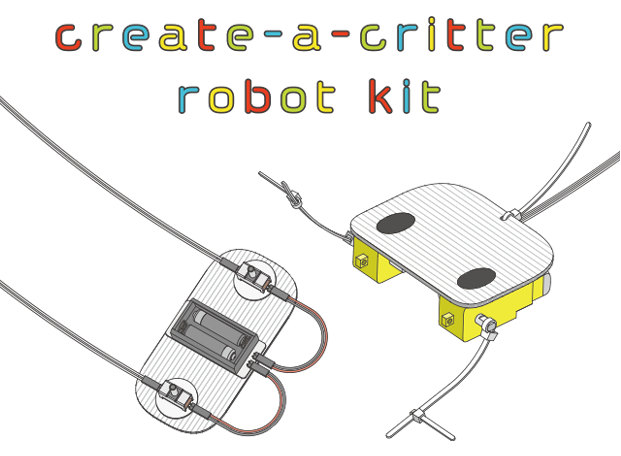
Let's make your
own critter robot !
Let's make your
own critter robot !
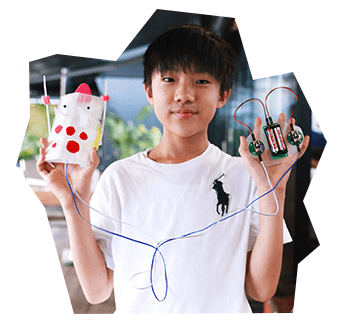
Take a look at
everyone's critter robot !
Take a look at
everyone's critter robot !

Thoughts after
Critter-Making
-
I really enjoyed customizing and creating it.
-
It was fun. The moving legs were really great.
-
I discovered that robots can make a variety of movements.
-
I enjoyed learning by trial and error.
-
It was cool that I could make a robot with basic materials.
Voices of
Parents and Guardians
-
It was very fun.
Even when failing repeatedly, I enjoyed the challenge of continuing. -
It was great to see them so enthusiastic and happy during the creative process.
They were able to experience the process of thinking and trying again which is not seen in current digital education. -
Even my son was able to design, create, and operate the robot himself.
When things didn't work out well, we thought about solutions together, and it was good that you don't immediately have a perfect final product.
Kit Contents
非表示
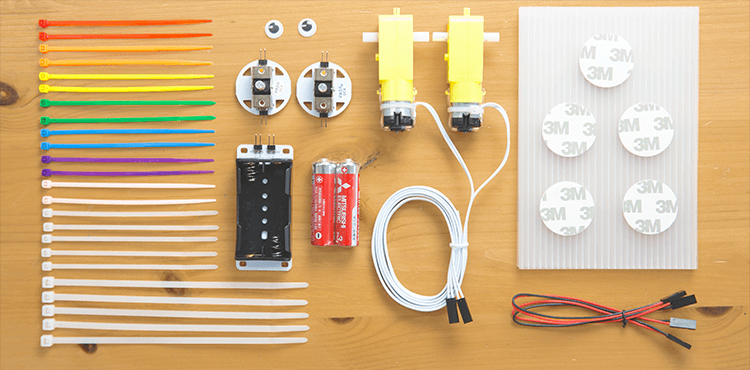
- ・ Cable Tie
- White (Long x5, Short x5)
- Color (7 colors x 2)
- ・ Motor(×2)
- ・ Battery Case(×1)
- ・ AA Battery (×2)
- ・ Switch(×2)
- ・ Double-Sided Tape(×5)
- ・ Wiggle Eyes(×2)
- ・ Jumper Cable(×2)
- ・ Plastic Board(×3)
- ・ Safety Notice
Procedure
非表示
Introduction


Assembly Instructions
-
STEP1Cut plastic board
Cut the robot and controller into desired shape


-
STEP2Secure parts using the double-sided tape
Attach parts where you would like


-
STEP3Securely fasten the motor using the cable tie


-
STEP4Connect the jumper cables and insert the batteries


Customization
Customize to make your own original critter robot !


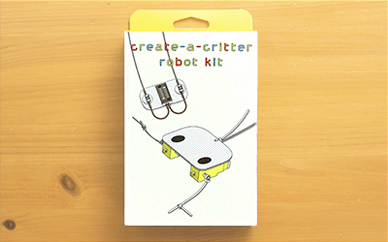
create-a-critter robot kit Purchase Here
Resources
非表示
For resources on the create-a-critter robot kit,please see below.
-
Resources for kit use
Workbook Download
at events and in classes -
Resources for use in
Press Kit Download
interviews, articles, and other media
I'm happy to have a small new robot !